Search articles...
How to assign products to my team members
Learn different ways how to assign products to your team members.
Overview
Every Tapify NFC Card comes with a unique Product-ID, generated when you place an order. These Product-IDs make it easy to link each card to a Tapify Profile. Once assigned, scanning the card will instantly display the user’s Tapify Profile. You can manage all Product-IDs in Settings > Products within your Tapify Workspace.
What are Product-ID's?
Once a Product-ID is assigned to a user, their Tapify NFC Card will automatically display their Tapify Profile when scanned. This means the card is ready for use. There are several ways to assign Product-IDs.
Unassigned products
When you place an order, Tapify automatically creates Product-IDs based on the quantity you selected. These IDs will appear as unassigned, meaning they haven’t been linked to any user yet. They’re ready to be assigned.
Assigned products
when a Product-ID is assigned to a user, it will now automatically show the Tapify Profile when it get's scanned, so basically it's now ready to use and your user can use the product. There are multiple ways to assign (and thus activate) Product-IDs.
How to assign Product-IDs to users
Scanning the Tapify NFC Card
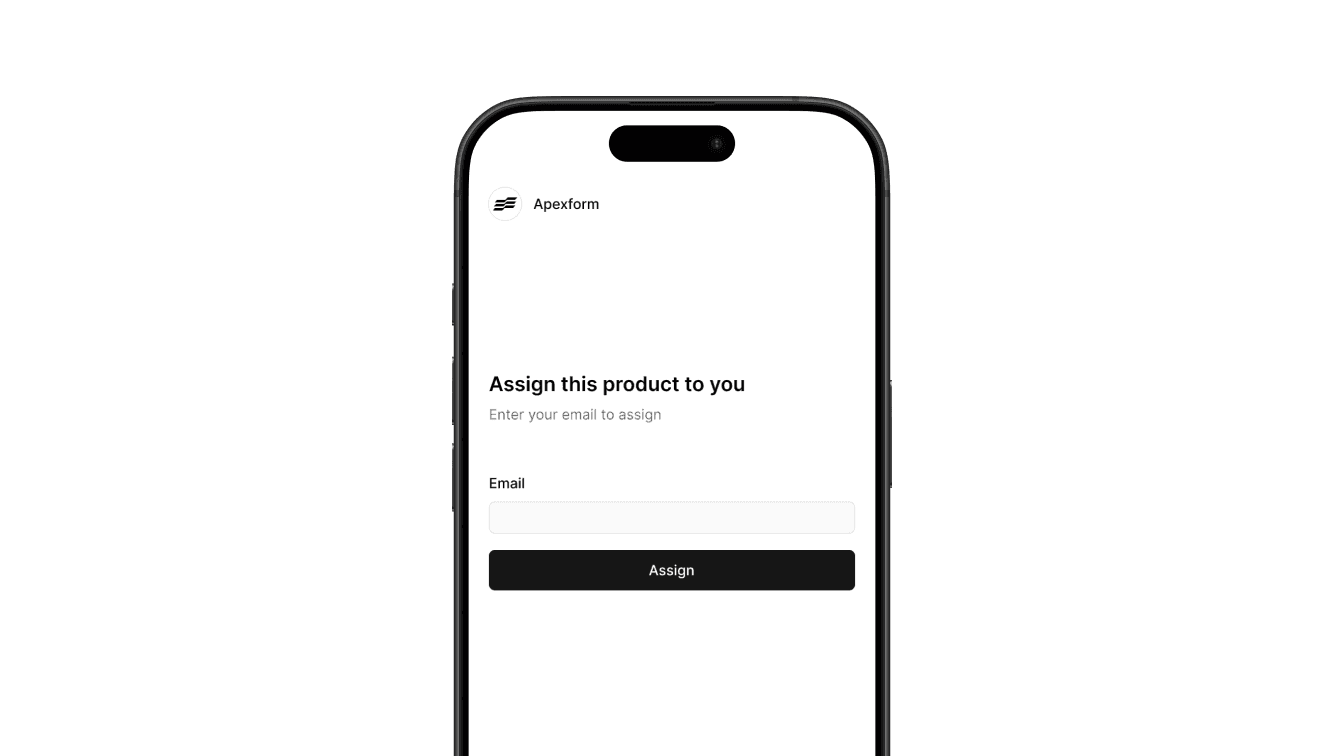
The easiest way to assign a card is to hand it to a team member and let them scan it. Here’s how:
The team member scans the Tapify NFC Card.
They enter their email.
Click
Assign.
This method only works if the team member is already added to your Tapify Workspace.
The card will now be assigned to their account and ready for use. Here's how the process looks like for a user:

Through user settings
You can also assign a Product-ID directly in the user settings. Here's how:
Navigate to your workspace's User management.
Click on the three dots next to the user you want to assign.
Click
Settings.In the Products section, click
Add.Select a Product-ID from the dropdown.
Click on
Save.Now, this Product-ID user has been successfully assigned to this user.
By bulk import
For assigning multiple Product-IDs efficiently, use the bulk import feature. Here's how:
Contact support@tapify.io to request your list of unassigned Product-IDs.
You’ll receive a CSV file with the Product-IDs.
Combine this file with a user CSV import, matching each Product-ID to a user.
Upload the completed CSV file to your Tapify Workspace.