How to start
The first step to using Tapify is to create a workspace for your team.
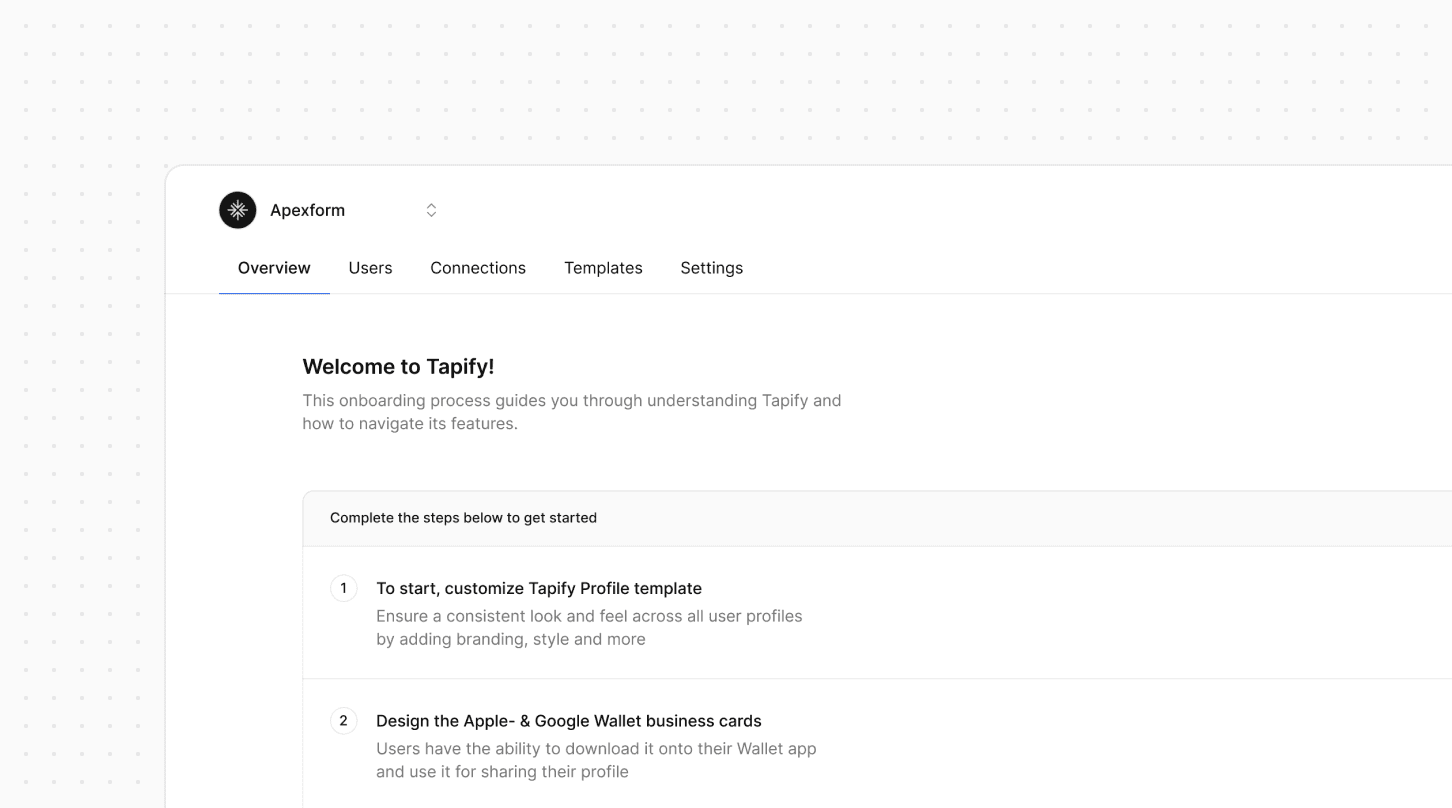
Overview
Everything you do in Tapify takes place in a workspace. It's your virtual home to organize all users, including their information and business cards. Here, you'll find valuable insights, such as analytics related to your workspace, recent connections made by your team, and workspace-specific details.
Configure
After you've started the 14-days free trial you are automatically assigned as an admin and workspace owner. Make sure adding you logo and setup the users permission before getting started:
Navigate to Settings > General to add a workspace logo.
Navigate to Settings > Users to set how users control and access their digital business card
Getting Started
To kickstart your journey with Tapify, it's essential to set up your workspace properly. Begin by creating templates for the Tapify Profile, Google Wallet and Apple Wallet. This ensures that your branding and business information are preconfigured before you invite your team members to start using their digital business cards.
For comprehensive guidance on setting up these templates, head over to the Templates section for detailed tutorials.